Hey there, solar energy enthusiasts! As a supplier of PV Fuse 1000V, I've seen firsthand how important these little components are in keeping your solar power systems running smoothly. Today, I'm gonna walk you through the process of replacing a PV Fuse 1000V. It might seem a bit daunting at first, but with the right steps and precautions, you'll be able to do it like a pro.
Why Replace a PV Fuse 1000V?
Before we jump into the replacement process, let's talk about why you might need to replace a PV Fuse 1000V in the first place. Fuses are like the safety guards of your solar system. They're designed to break the circuit when there's an overcurrent situation, like a short - circuit or a power surge. When this happens, the fuse blows, and you'll need to replace it to restore the normal operation of your system.
If you notice that your solar panels aren't producing as much power as they should, or if there's a complete power outage in your solar setup, a blown fuse could be the culprit. So, it's essential to know how to replace it quickly and safely.
Safety First!
Safety is super important when dealing with electrical components, especially in a high - voltage solar system. Here are some safety tips to keep in mind before you start replacing the PV Fuse 1000V:
- Turn off the power: Before you do anything, make sure to turn off the main power supply to your solar system. This will prevent any electrical shocks or short - circuits while you're working on the fuse.
- Wear protective gear: Put on insulated gloves and safety glasses to protect yourself from any potential electrical hazards.
- Use the right tools: Make sure you have the appropriate tools for the job, like a pair of insulated pliers.
Tools and Materials You'll Need
To replace a PV Fuse 1000V, you'll need the following tools and materials:
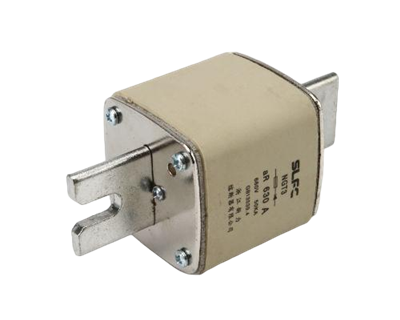
- A new PV Fuse 1000V: Make sure to choose a fuse that has the same voltage and amperage rating as the old one. You can get a high - quality Bolted Photovoltaic Fuse from our wide range of products.
- Insulated pliers: These will help you remove and install the fuse safely.
- A multimeter: This tool can be used to test the new fuse and make sure it's working properly.
Step - by - Step Replacement Process
Step 1: Locate the Fuse
The first step is to find the PV Fuse 1000V in your solar system. In most cases, the fuses are located in a fuse box or a combiner box. The fuse box is usually near the solar panels or the inverter. Look for a small, cylindrical device with two metal ends.
Step 2: Remove the Old Fuse
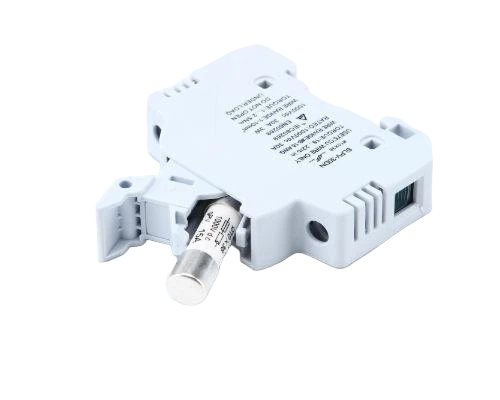
Once you've located the fuse, use your insulated pliers to carefully remove it from the fuse holder. Grip the fuse firmly at the metal ends and pull it straight out. Be gentle to avoid damaging the fuse holder. You might find our DC1000V Solar PV Fuse Holder Base very helpful in this process.
Step 3: Inspect the Old Fuse
After removing the old fuse, take a close look at it. If the fuse is blown, you'll see a broken wire inside the glass or ceramic tube. This indicates that the fuse has done its job and protected your system from an overcurrent situation.
Step 4: Test the New Fuse
Before installing the new fuse, it's a good idea to test it with a multimeter. Set the multimeter to the resistance or continuity mode. Touch the probes of the multimeter to the two metal ends of the fuse. If the multimeter shows a low resistance or a beep, it means the fuse is good.

Step 5: Install the New Fuse
Once you've confirmed that the new fuse is working, insert it into the fuse holder. Make sure it fits snugly and that the metal ends are making good contact with the terminals in the holder. You can also consider using a DC500V Solar Fuse Holder for better compatibility and performance.
Step 6: Power On and Test
After installing the new fuse, turn on the main power supply to your solar system. Check if your solar panels are producing power again. You can also use a power meter to measure the output of your solar system and make sure everything is working as it should.
Troubleshooting
If, after replacing the fuse, your solar system still isn't working properly, there could be other issues. Here are some possible problems and solutions:
- Wrong fuse rating: Double - check that you've installed a fuse with the correct voltage and amperage rating. Using the wrong fuse can cause it to blow again or damage your system.
- Other electrical problems: There could be a short - circuit or a damaged wire elsewhere in your system. In this case, it's best to consult a professional electrician.
Conclusion
Replacing a PV Fuse 1000V isn't as hard as it might seem. By following the steps I've outlined above and taking the necessary safety precautions, you can do it yourself and save some money on maintenance costs.
If you're in the market for high - quality PV Fuse 1000V products, we're here to help. We offer a wide range of PV fuses and related accessories, all designed to meet the highest standards of quality and performance. Whether you need a Bolted Photovoltaic Fuse, a DC500V Solar Fuse Holder, or a DC1000V Solar PV Fuse Holder Base, we've got you covered.
If you have any questions about our products or need help with the replacement process, feel free to reach out. We're always happy to assist you with your solar power needs and look forward to discussing potential procurement opportunities.
References
- "Solar Photovoltaic Systems: Design and Installation Guide", various authors
- "Electrical Safety Standards for Renewable Energy Systems", industry - specific safety manuals